Sow seeds indoors. You can maximize the growing season in your area by getting a head start with your artichokes indoors. Start your seeds in individual 4 in (10 cm) containers and leave them under fluorescent lights or in a heated greenhouse. In normal indoor temperatures, seeds will likely germinate in a week or so. Increase the size of planters as needed.[5]
To harden off the artichokes, begin exposing seedlings to temporary outdoor sessions 6 weeks before the anticipated last frost date in your area.
Transfer seedlings outdoors. Move seedlings outdoors 3 to 4 weeks before the anticipated final frost. You actually want to expose the plants to a temperature below 45 °F (7 °C) to trigger flowering. They should be about as tall as your hand. Plant the seedlings so that the crown, or top, of the plant is just above the soil line.[6]
Cull weak seedlings. After 8-10 weeks, healthy artichoke seedlings will have stocky stems and two sets of leaves. Remove any that do not.
An application of compost each spring and again midway through the growing season will keep the artichoke plants healthy and productive, especially if the soil is poor. A deep layer of mulch is also important because it conserves soil moisture and cools the roots in summer. Mulch can also be used to protect roots from freezing to overwinter plants in USDA zone 7. Over-watering in heavy clay soils can cause the root crown of artichokes to rot. Otherwise, they are disease- and pest-resistant.
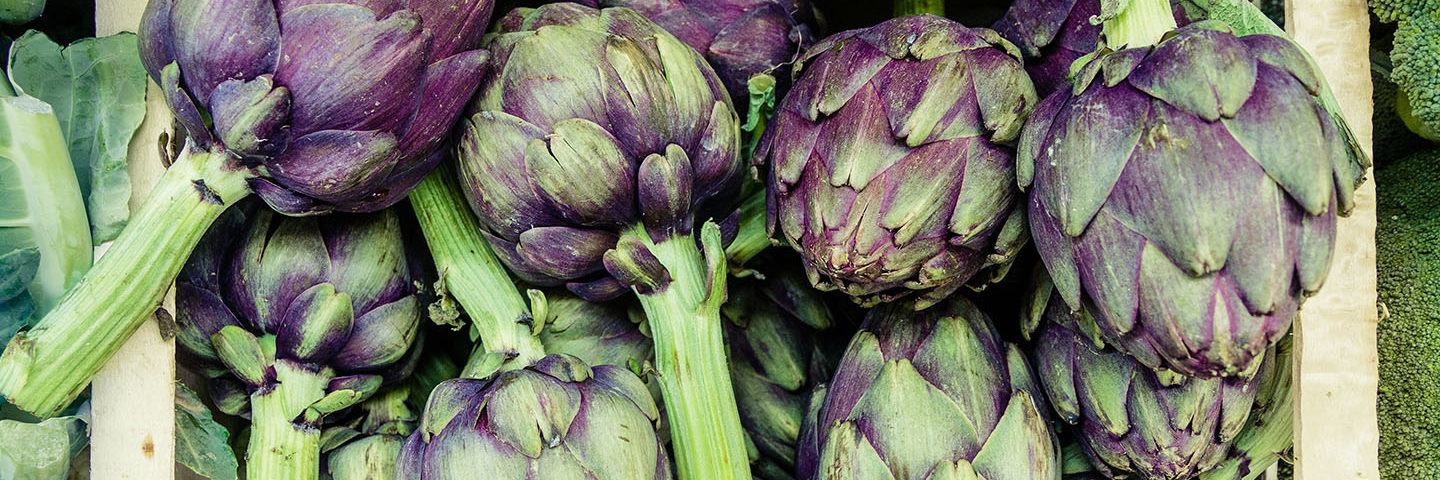
Harvest artichokes when the buds have become large, but are still firm and tightly closed. If the plant has had ample nutrients and water, the buds will be 3 to 4 inches in diameter when they are ready to harvest. Clip about 2 inches below the base of the bud. If left to open, spectacular purple thistle flowers will emerge from the buds. Artichokes taste best if prepared immediately, though they will keep for up two weeks in the refrigerator.
